The Blinkenhub kit includes all the internal parts. You print the stand on your own 3D printer, fit the parts inside, and end up with the same stand, hub, and lights as an assembled Blinkenhub, in any color you like.
What’s in the kit
- USB hub board
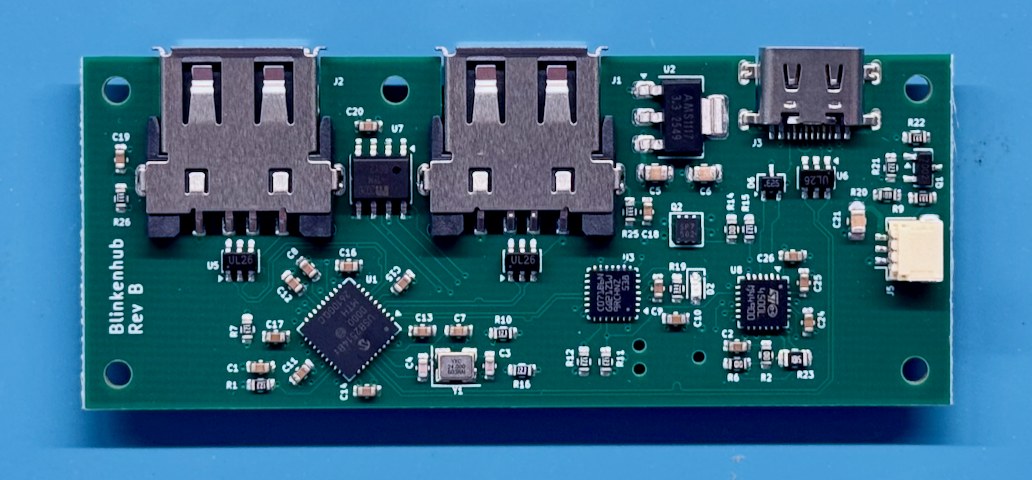
- Flexible LED strip

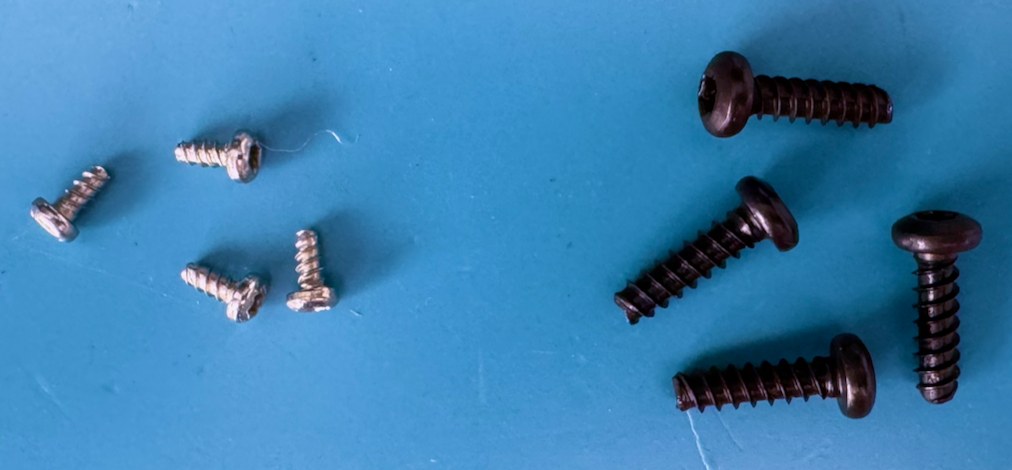
- Thread forming screws
- Instructions for downloading the 3D models for the stand, ready to print
What you’ll need
- A Mac mini (November 2024 and later)
- An FDM 3D printer (we us a Prusa Core One L at Blinkenhub HQ)
- Clear PETG filament for the bottom
- PETG filament in your color choice for the duct
- Filament (PLA recommended) in your color choice for the base
- A T-15 Torx driver
- A T-7 Torx driver
- A (preferably short) USB-C cable capable of at least High-Speed (480 Mbps) data transfers and able to deliver power at 1.5A.
Instructions
-
Download the 3D models
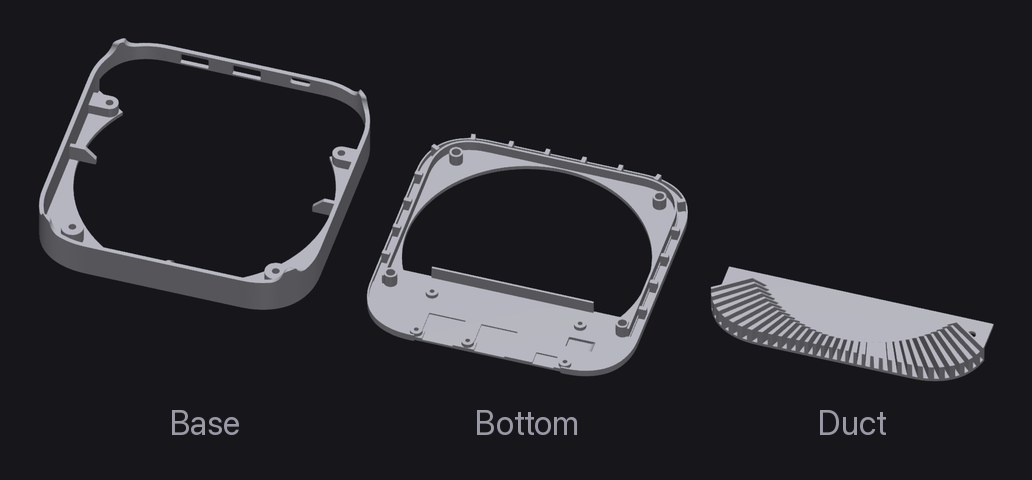
The stand is printed as three parts. Using the instructions included in the kit, download and unzip the model files:
Part File Base Blinkenhub V2 (RB PCB) Base.stepBottom Blinkenhub V2 (RB PCB) Bottom.stepDuct Blinkenhub V2 (RB PCB) Duct.stepA complete assembly,
Blinkenhub V2 (RB PCB).step, is also included for reference. You don’t need to print it.Most current slicers, including PrusaSlicer, Bambu Studio, and OrcaSlicer, open STEP files directly.
-
Print the parts
Print the Base, Bottom, and Duct.
Part Orientation Supports Notes Base Flat side down Required PLA recommended Bottom Flat side down None Clear PETG Duct Flat side down None Not PLA The Bottom and the Duct can be printed with almost any settings. Neither part is highly visible, and neither has any tight tolerances. Speed, or even draft, printing is probably fine. Both parts are oriented with the large flat surface on the build plate and neither requries any supports.
The Base is the more challenging part to print. Printer settings are more critical because the part is visible when your Mac is sitting on it. You’ll want to choose a material and print settings that produce a nice appearance. PLA is highly recommended because it works well with the narrow back of the base.
Printing the Base will require supports in several places. The models do not include support material, it is added by the slicer. You will probably have to experiment a bit with print settings to get the best results from the printer, material and slicer you’re using.
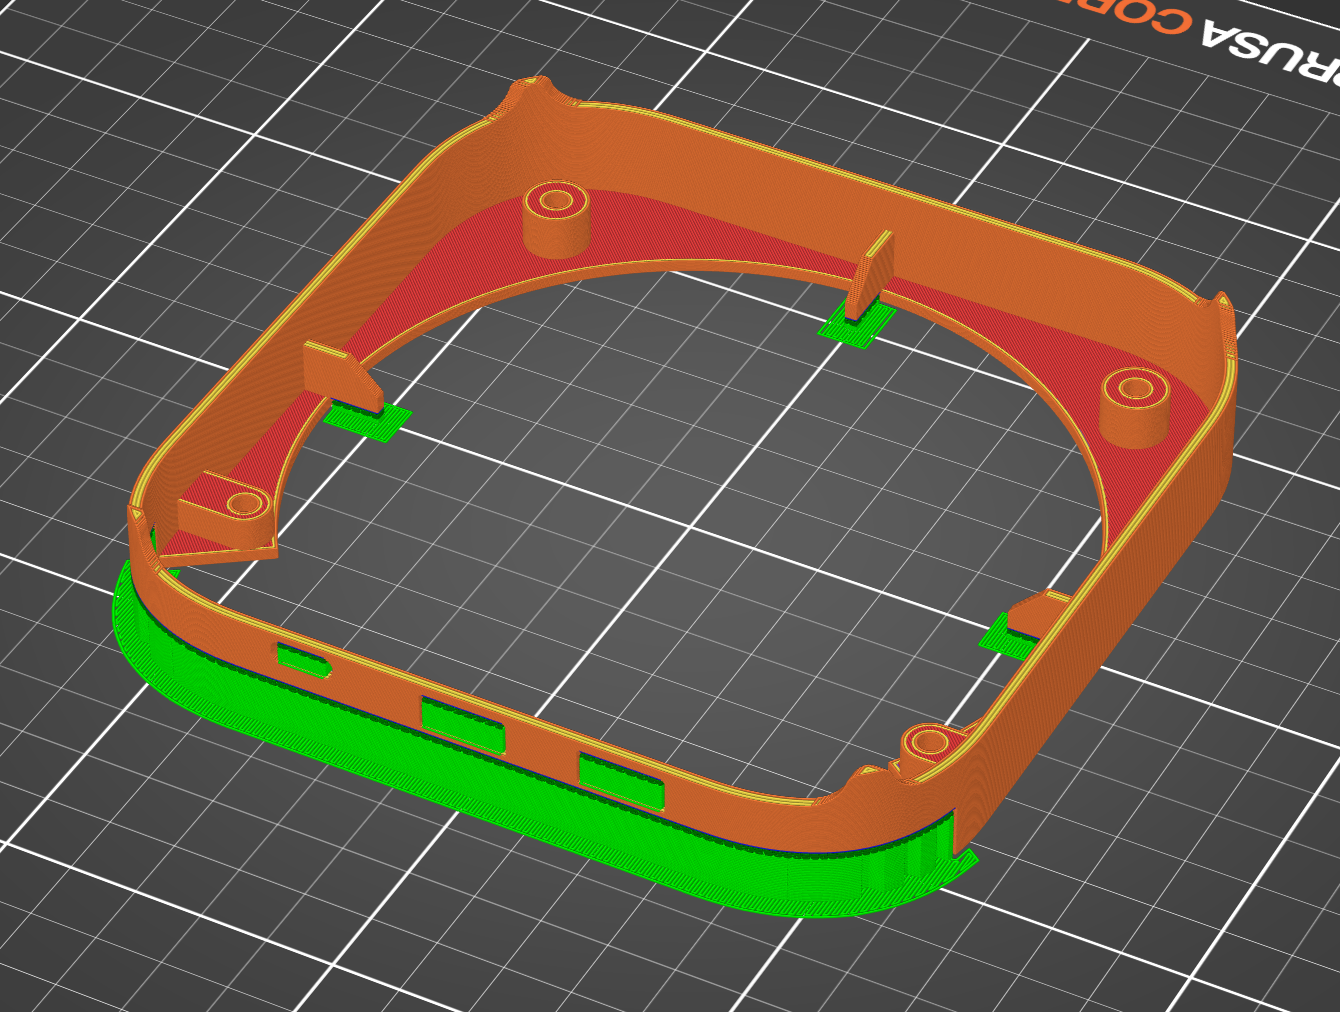
Base with support material shown in green. Once the parts have been printed, carefully remove any support material and set them aside.
-
Prepare your workspace
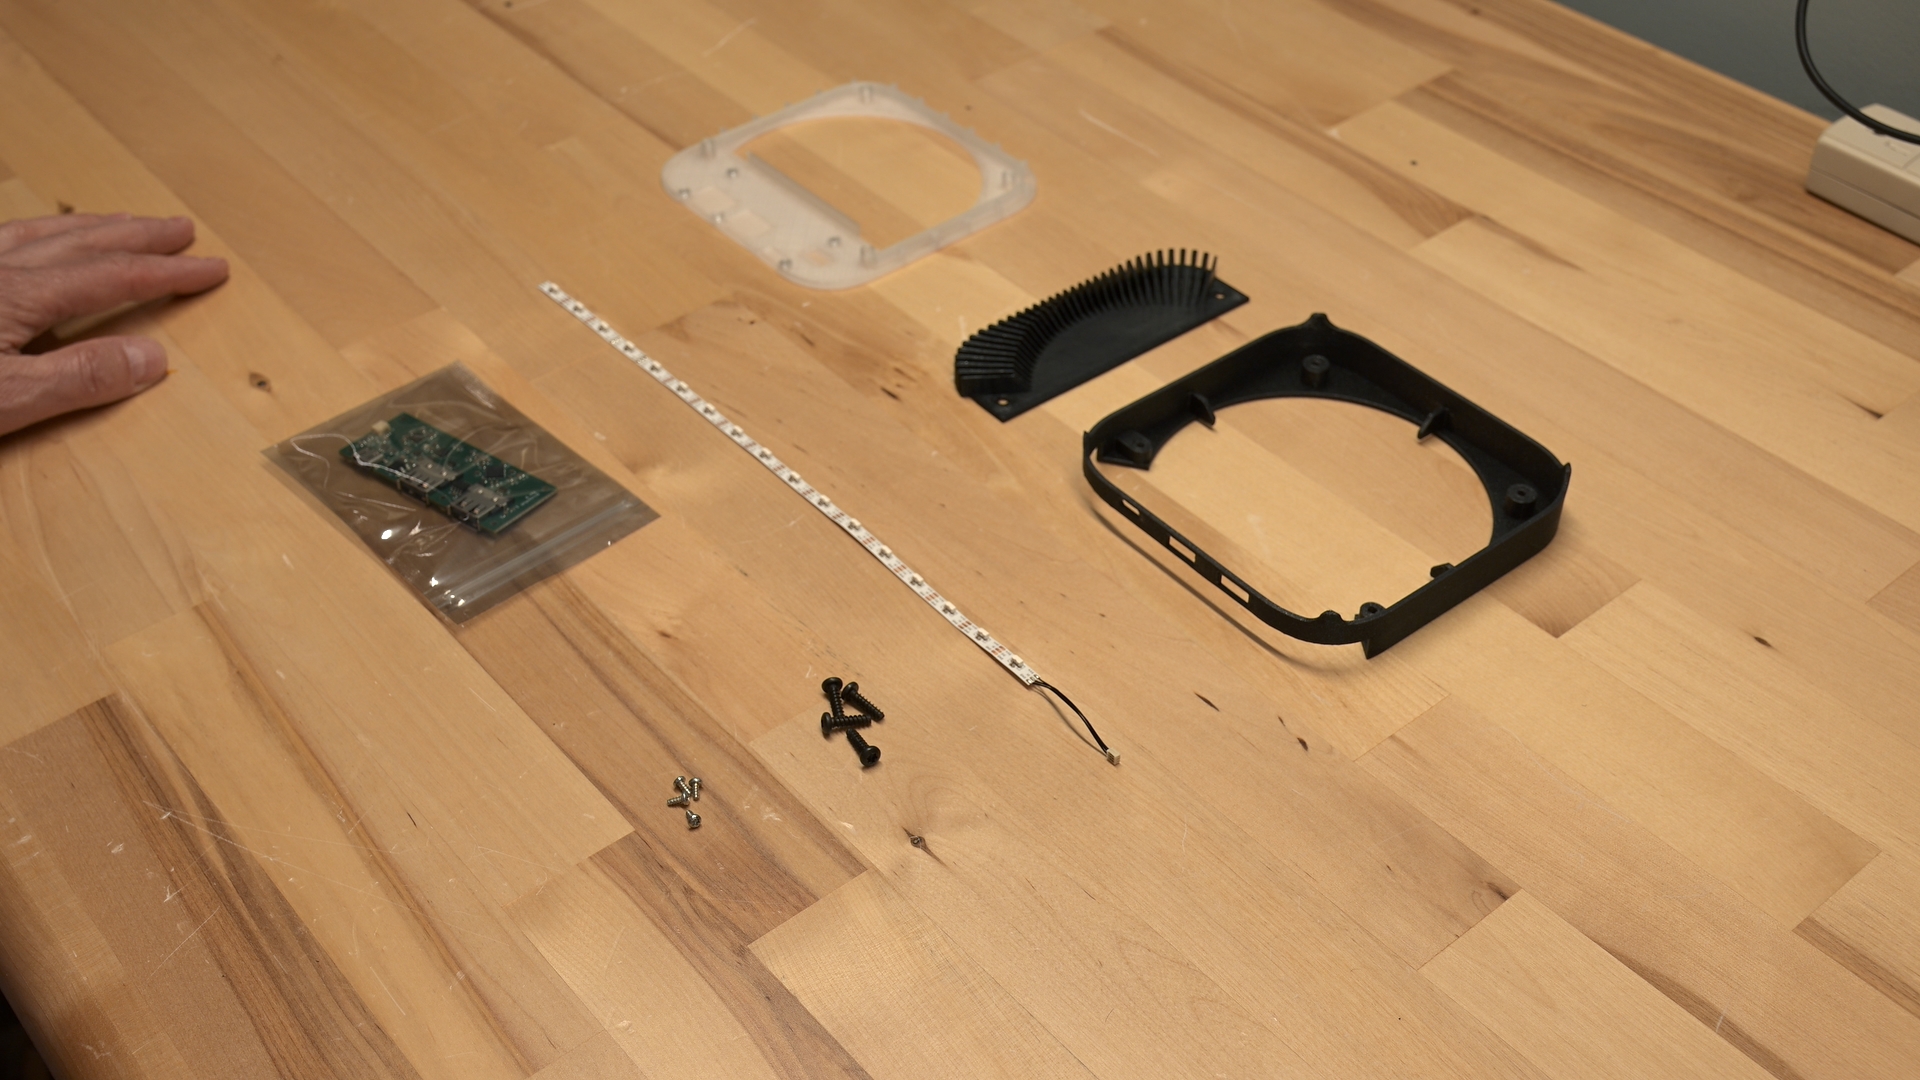
Arrange all of the components of the kit, including the 3D printed parts, the screws, the hub board, and the LED strip on your work bench for assembly.
-
Plug in the LED strip
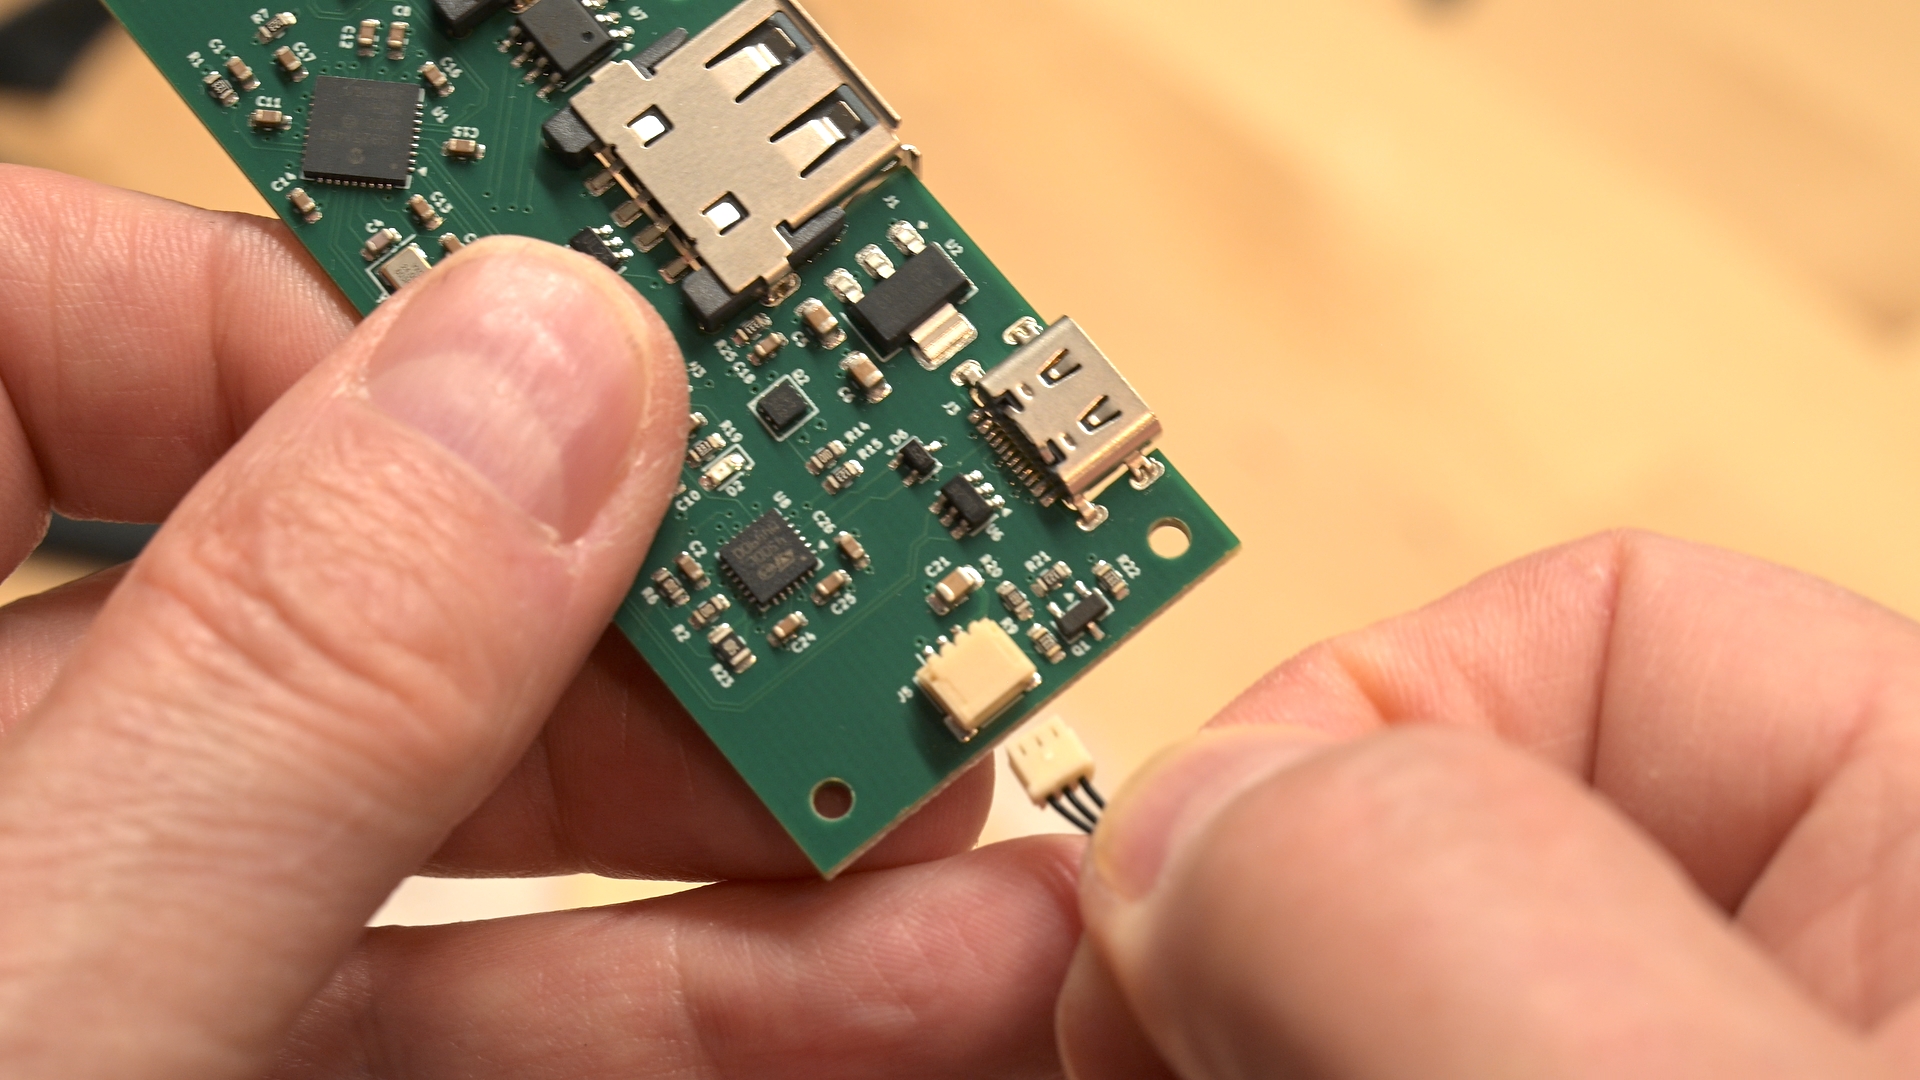
Removed the hub board from its antistatic bag and plug in the LED strip, being careful to observe the correct orientation of the connector.
-
Install the USB hub board
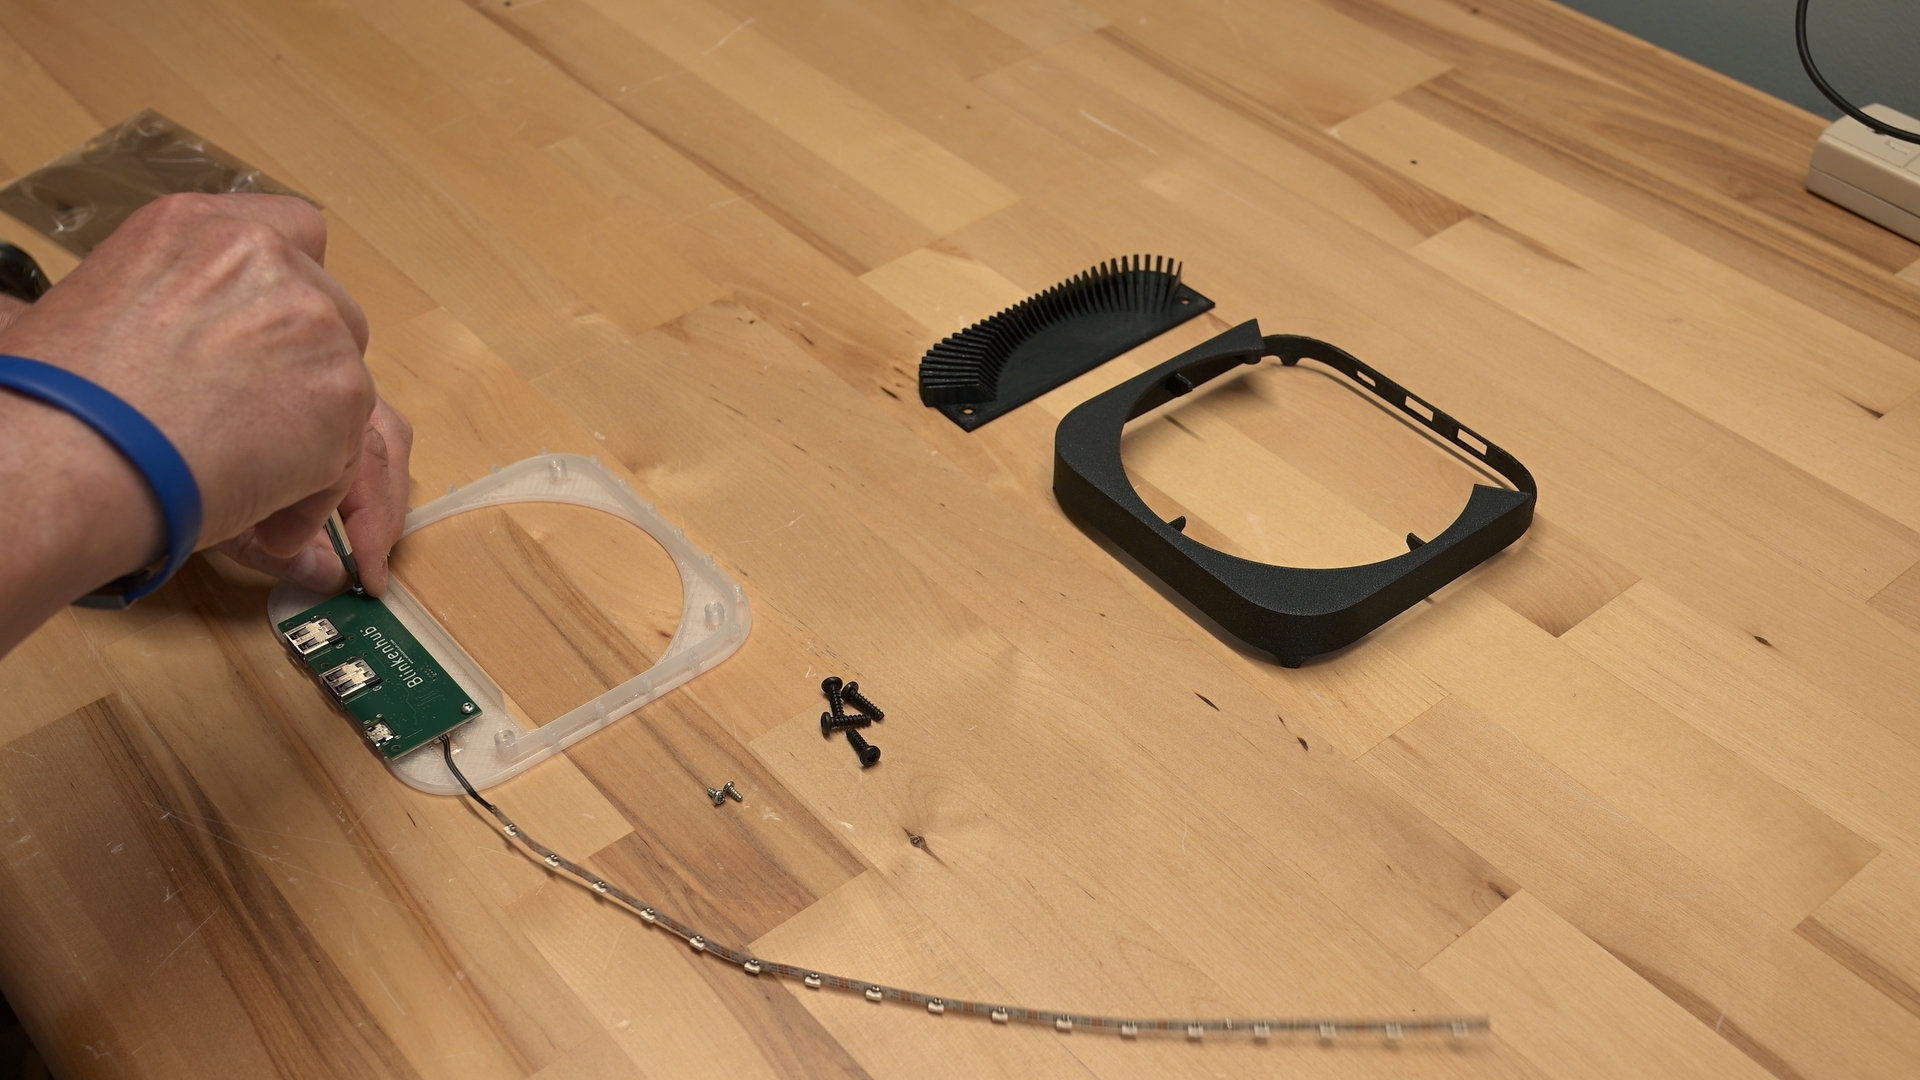
Using a T-7 Torx driver, attach the hub board face down to the bottom using with the small screws in the corners.
-
Fit the LED strip
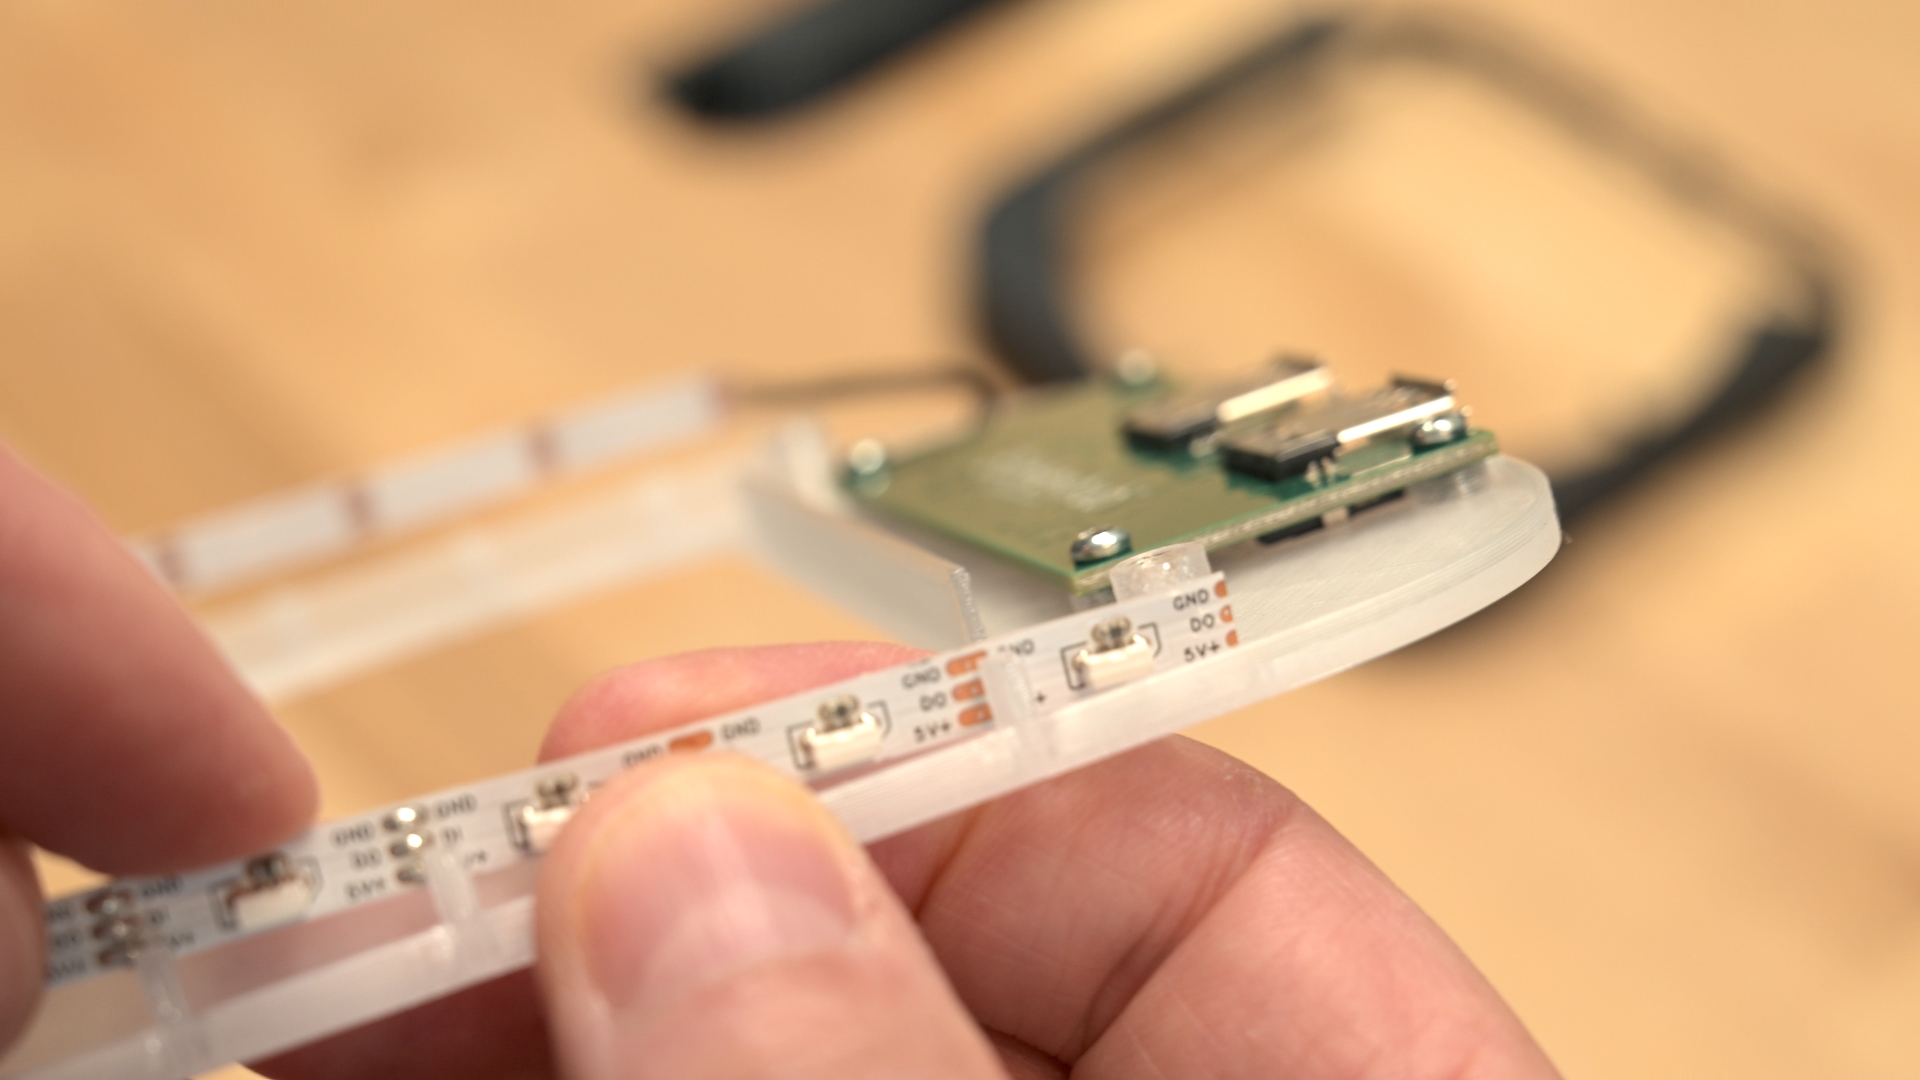
Starting at the far end (away from the wires and connector) seat the flexible LED strip in the gap between the posts and the rail that runs around the inside of the bottom. Try to position the LEDs between the posts, although you may have to shift them a little to accomodate solder joints in the strip.
If you have trouble seating the LED strip, make sure that your print didn’t somehow bridge the gap between the posts and the rail.
-
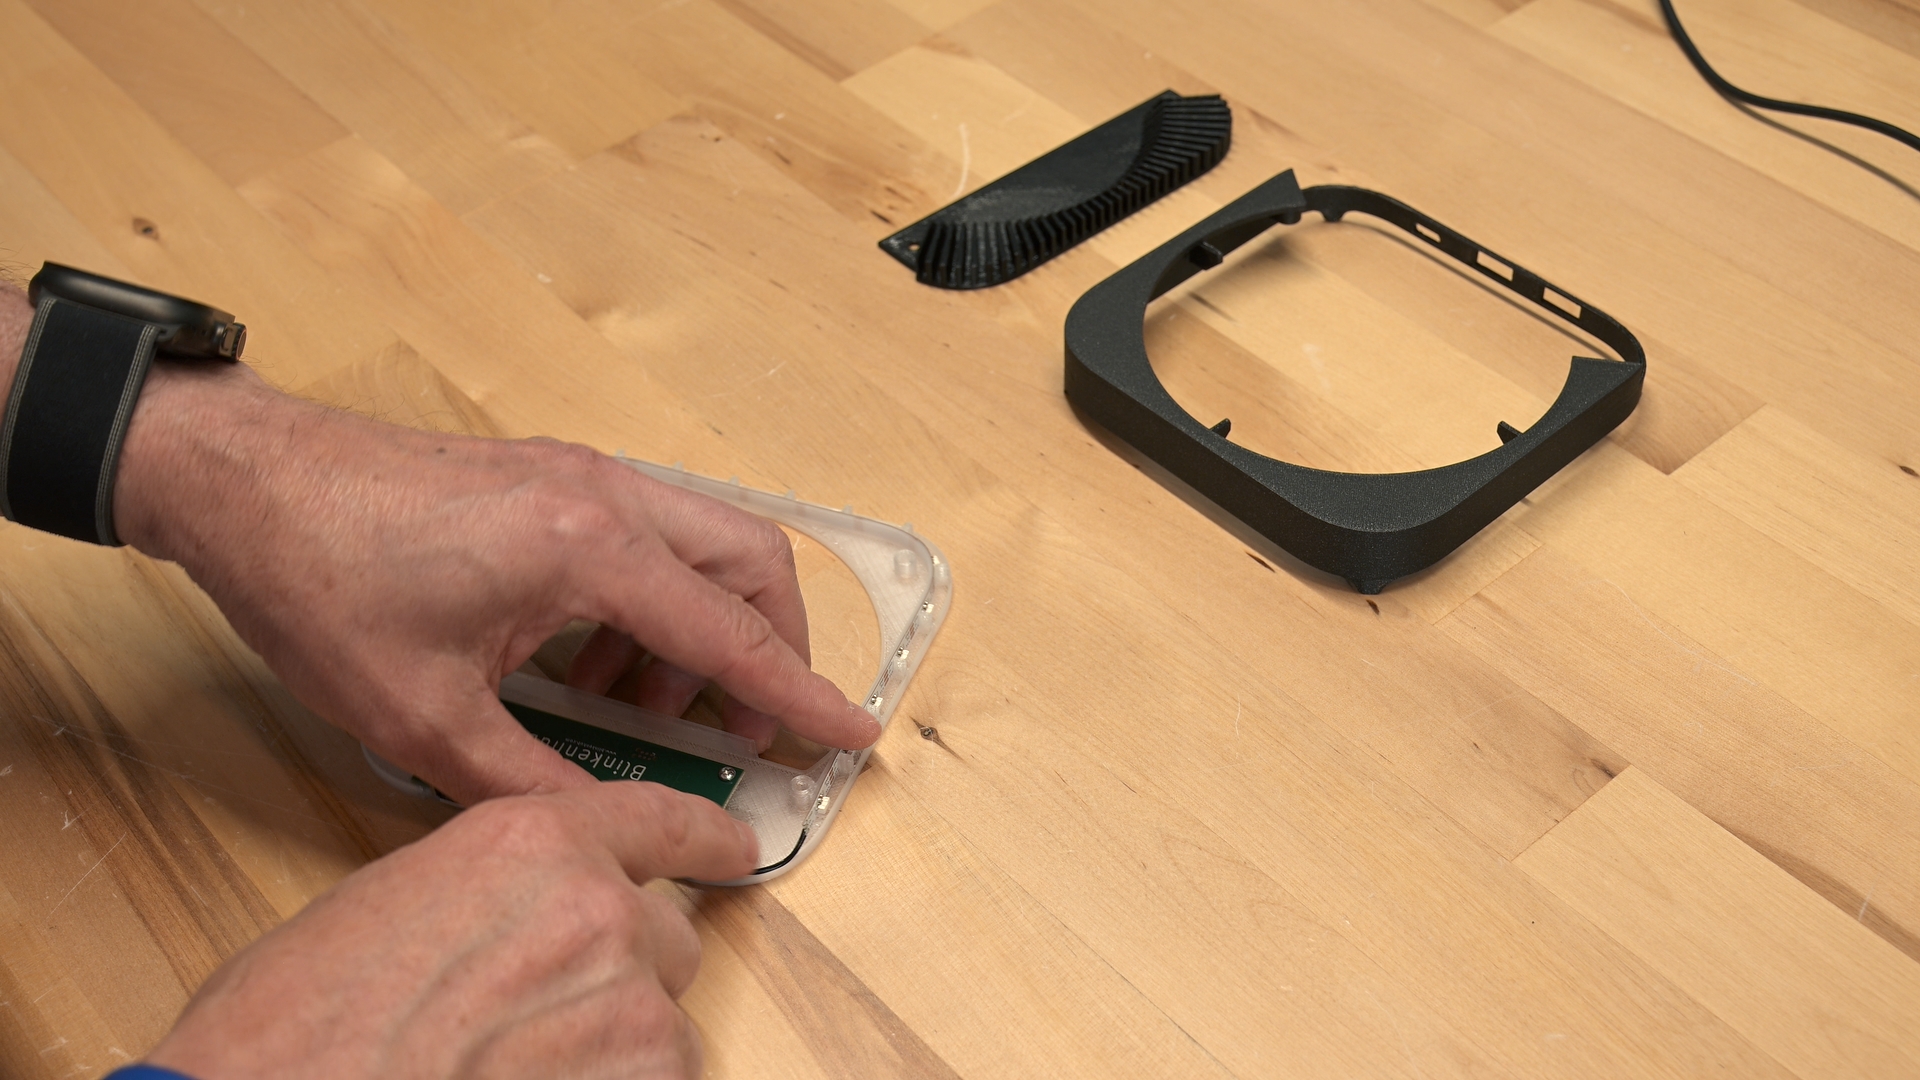
Tuck in the wires
Work your way around to the connector end of the LED strip. Tuck in the wires to ensure that they don’t interfere with the base.
-
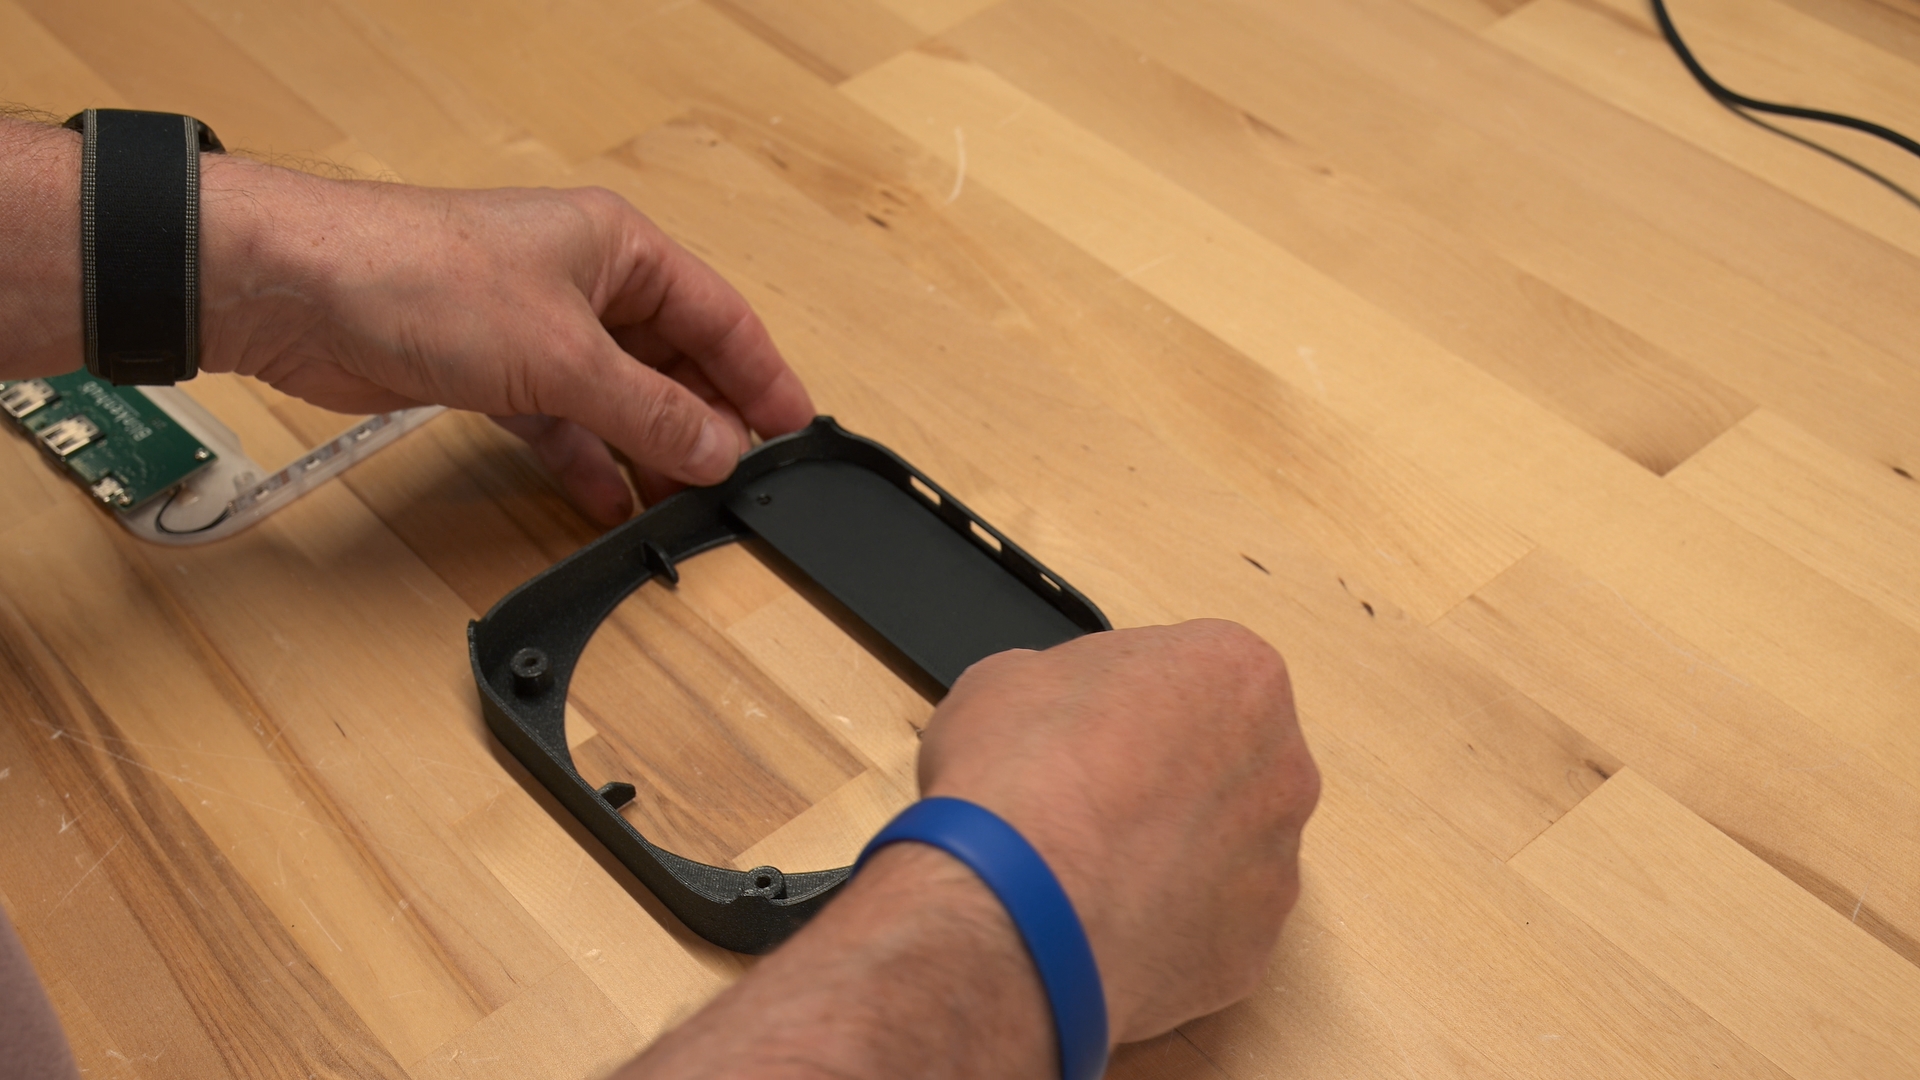
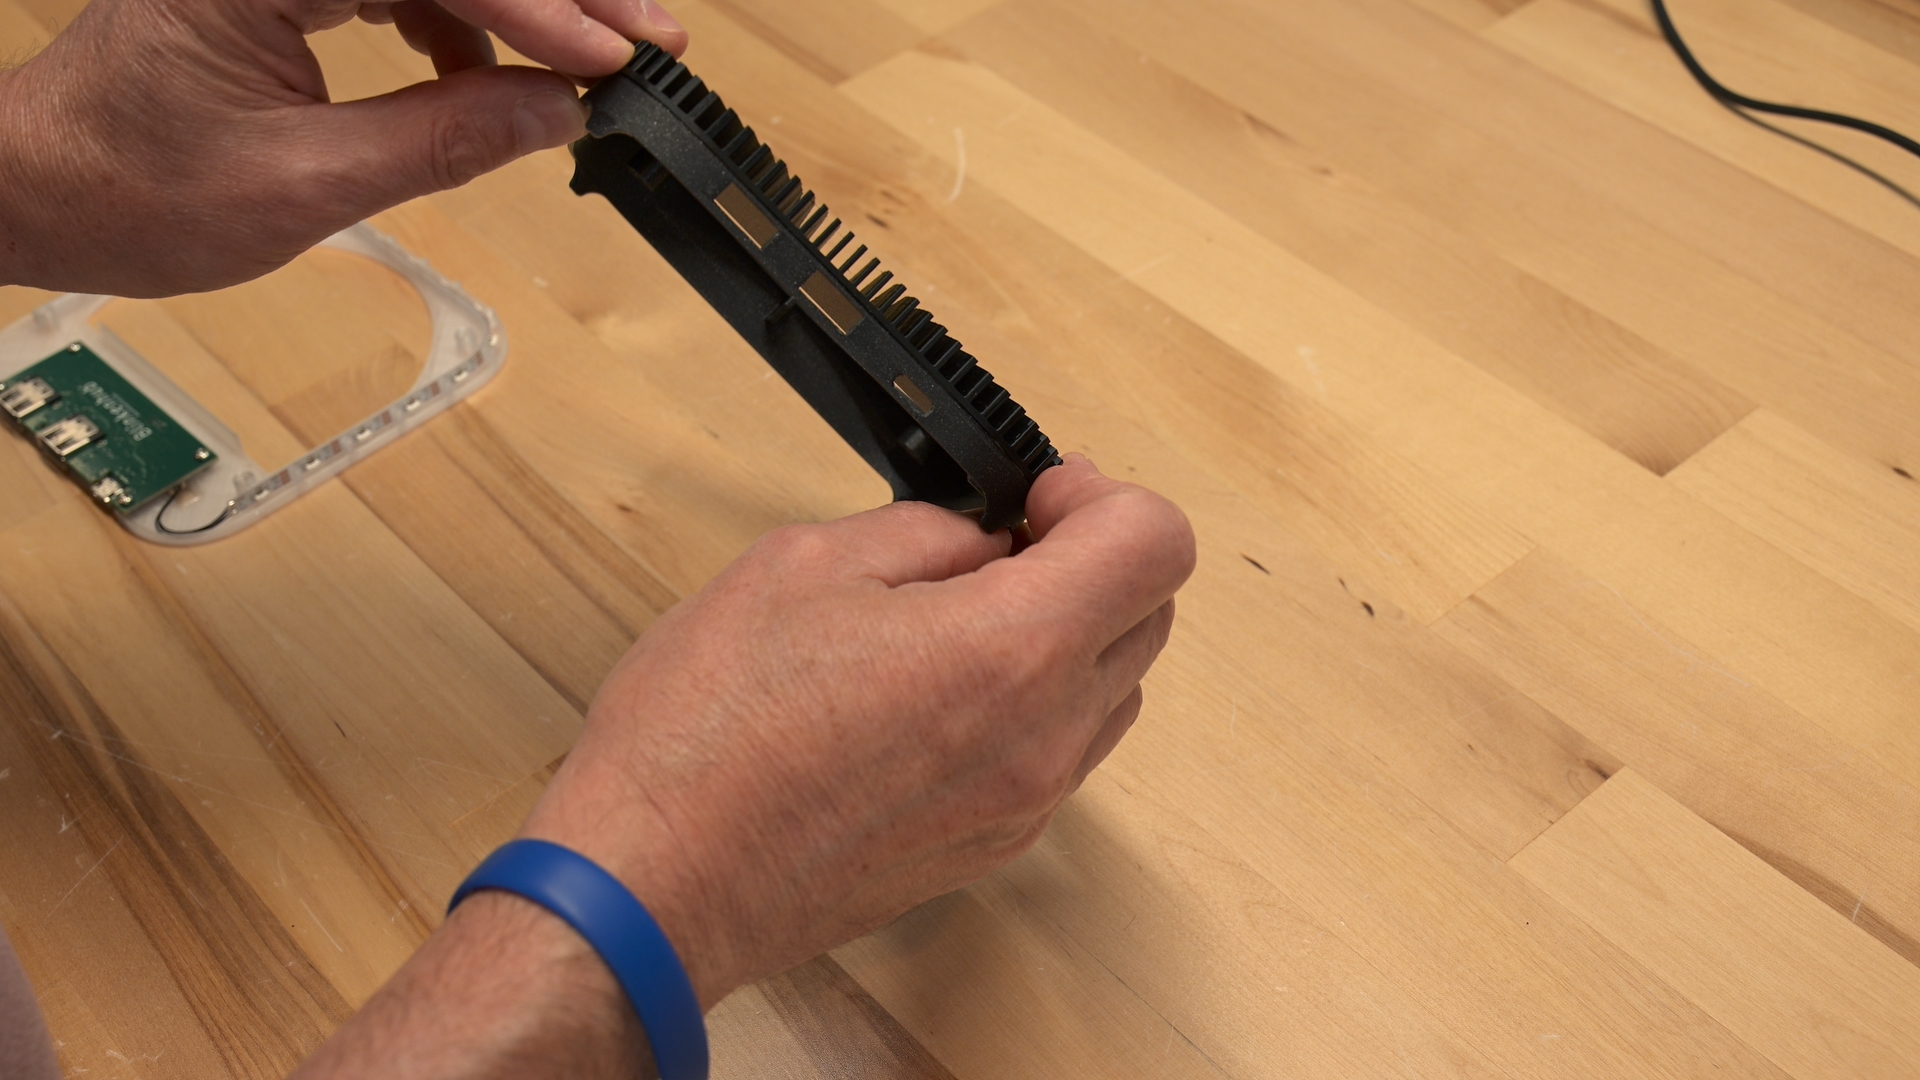
Position the duct
With the base upside down (legs up) slide the duct in upside down until its back is even with the back edge of the base. The holes in the flat part of the duct should align with the mounting posts in the base.
-
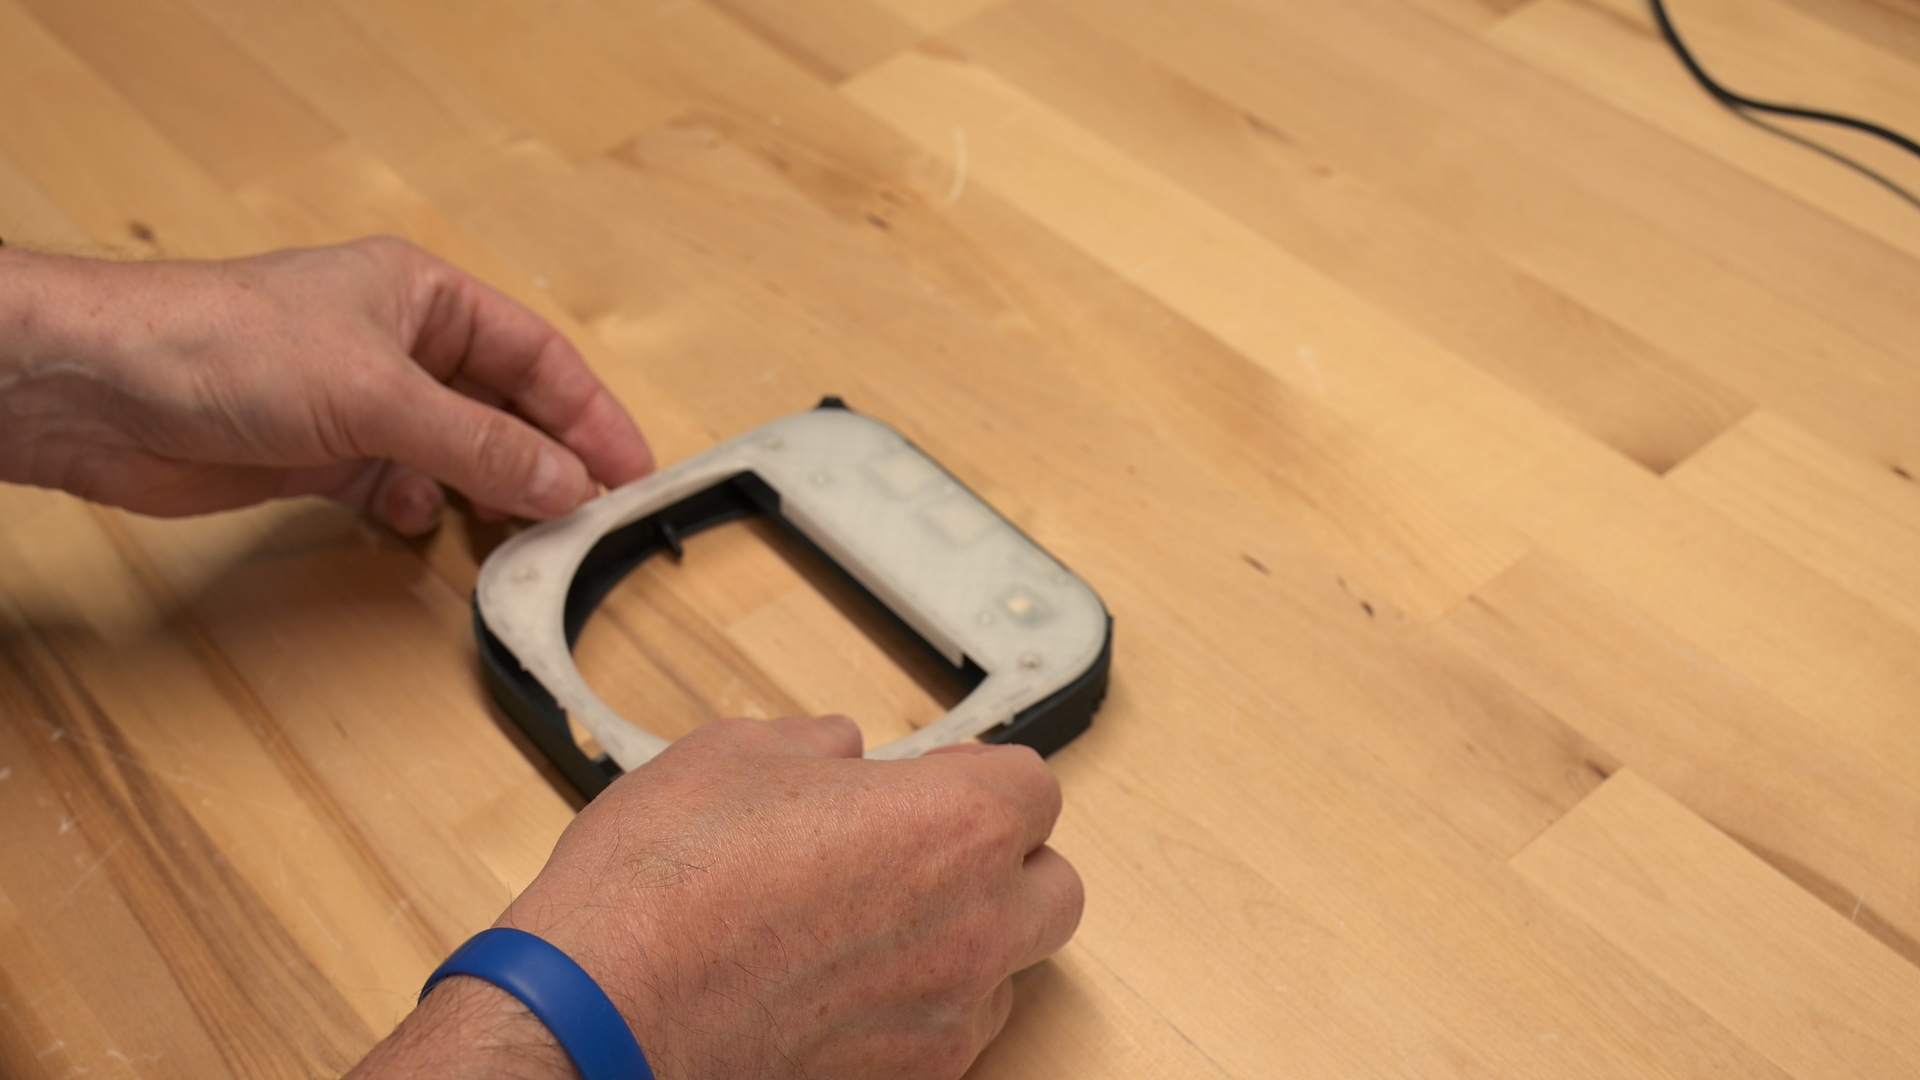
Close up the stand
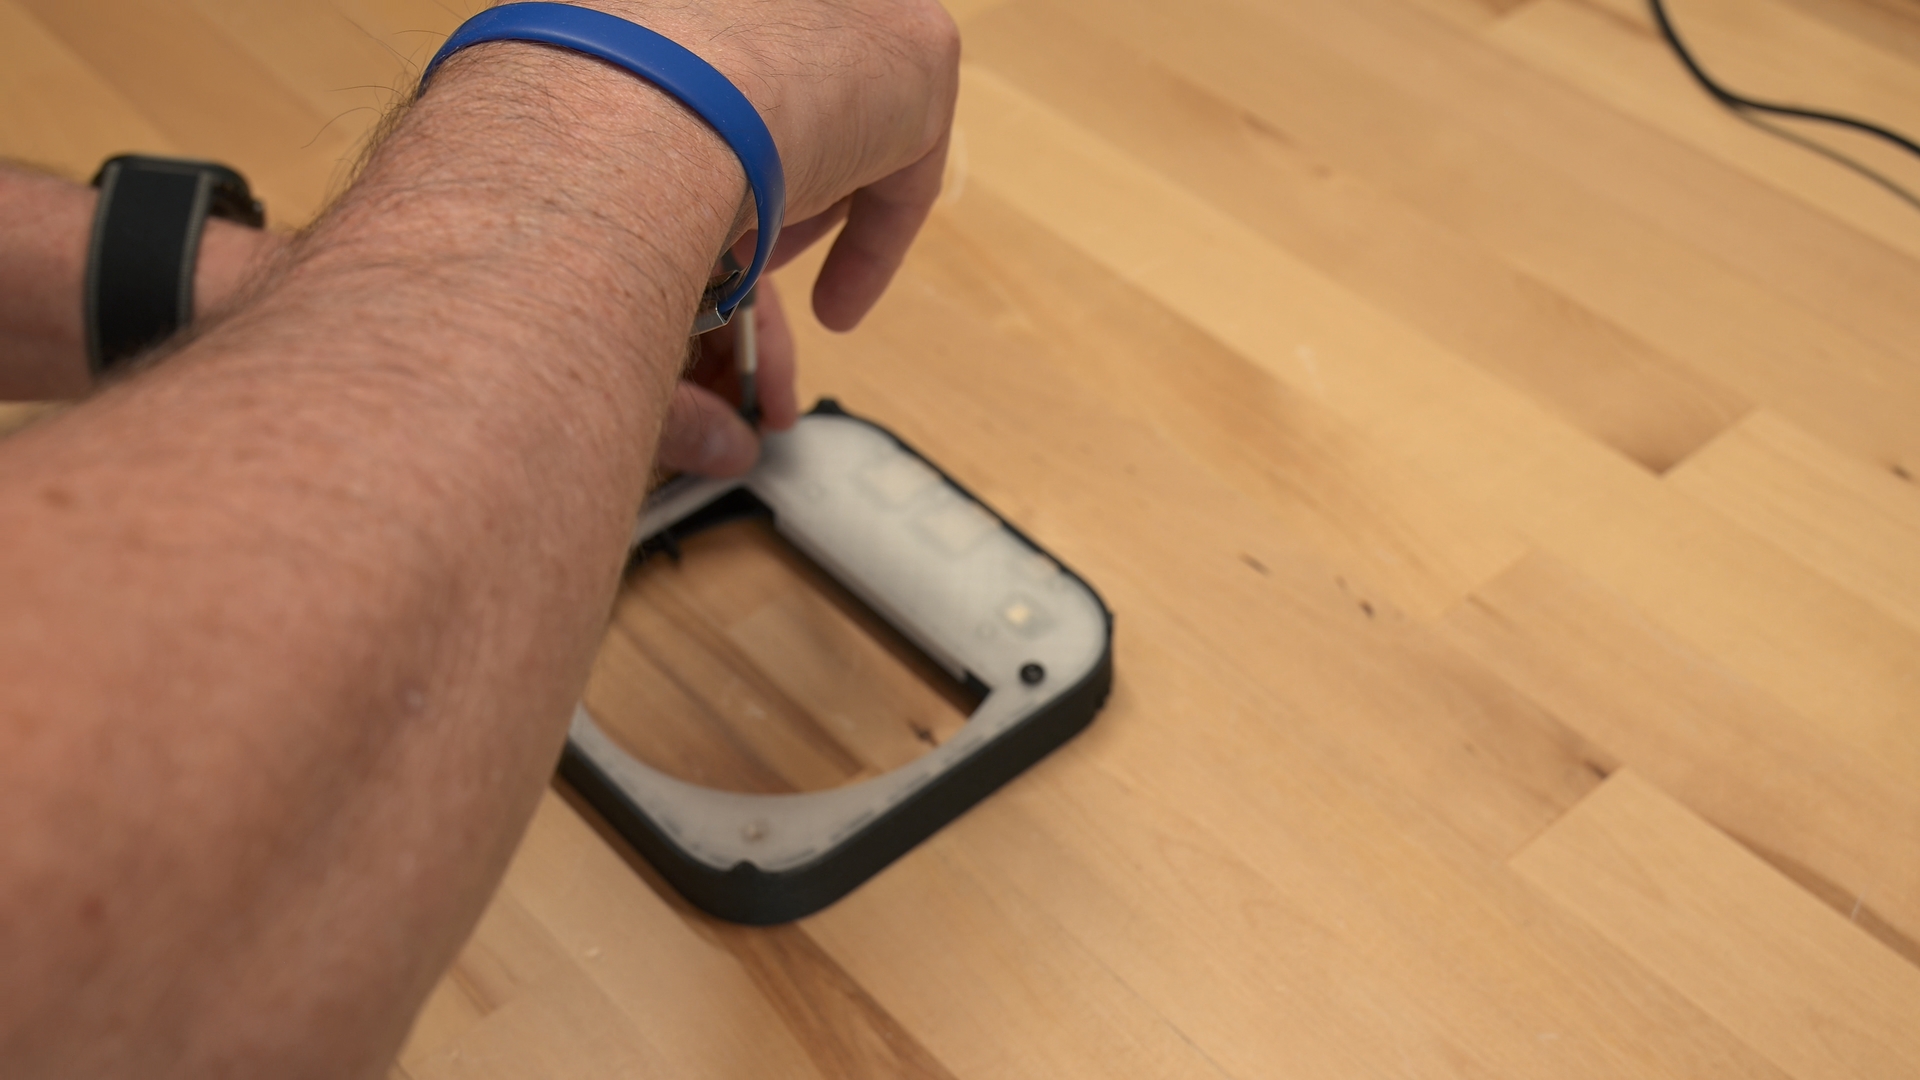
Place the bottom of the stand upside down into the base. Using the large screws and a T-15 Torx driver, attach the bttom to the base.
-
Connect it to your Mac
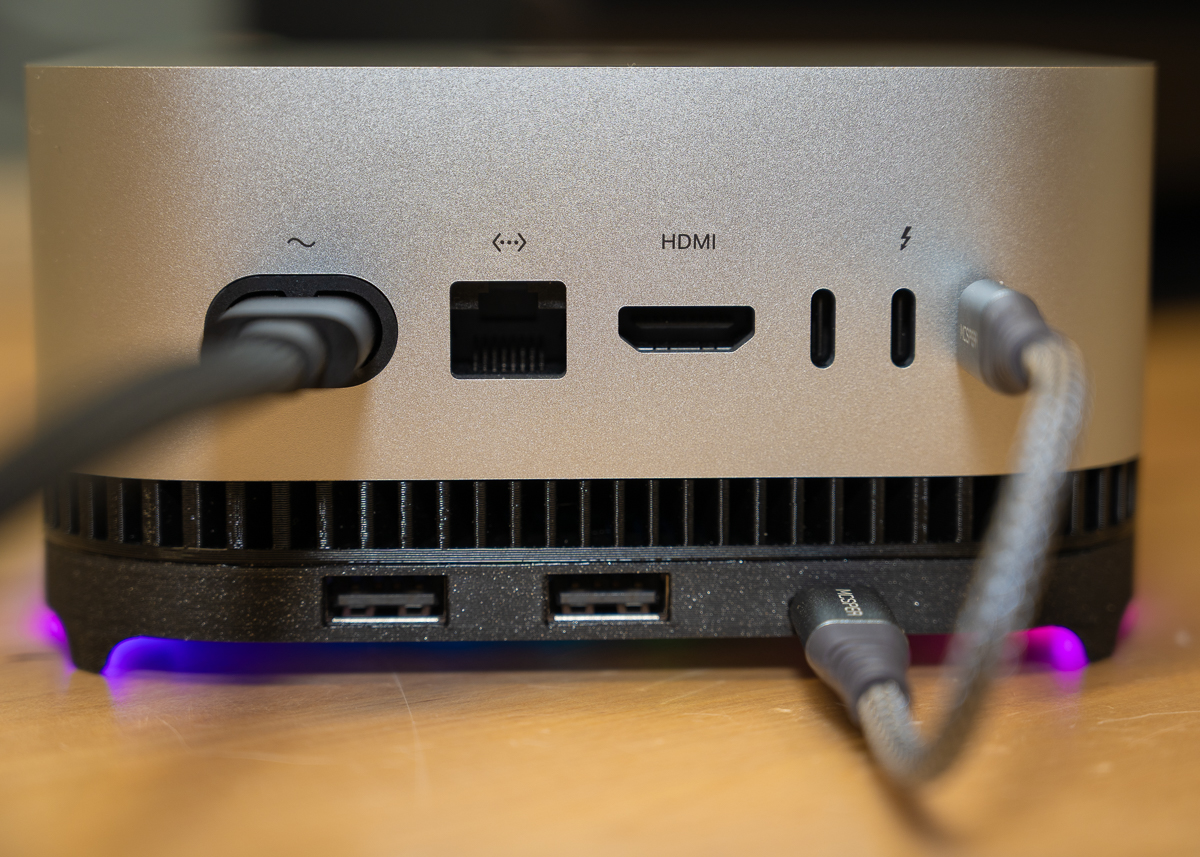
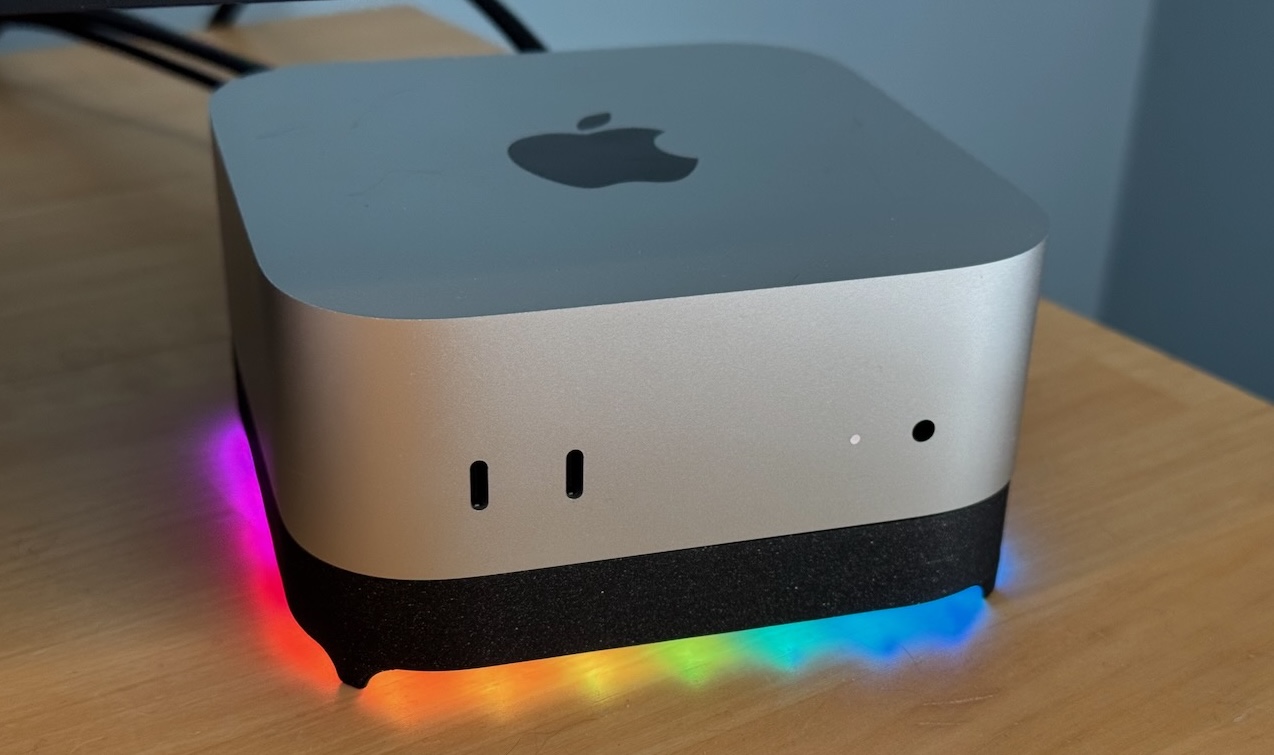
Set your Mac mini on top of the stand. Connect the stand to the Mac with a single cable, which powers both the hub and the lights. With your Mac on, after a few seconds you should see a rotating rainbow pattern from the LEDs.
-
Test the lights
Install the blinkenhub Python package. It includes a
blinkenhubutility for trying out the lights:pip install blinkenhubThen use the disco blinkenhub command to test the communications path to the stand. Unlike the other commands, disco animates the Blinkenhub in real time from the host.
blinkenhub discoOnce you’re satisfied things are working, quit with ctrl-C.
Use the rainbow command to return the Blinkenhub to a rotaing rainbow, like it does by default when first powered on. This command delegates the animation to the stand and will return immediately.
blinkenhub rainbow -v 0.5 -r 10All 17 LEDs should light in a rainbow that slowly spins around the stand.
-vsets the brightness and-rthe spin rate.
Next steps
Your Blinkenhub is ready. See what the API can do to set your own colors and animations from software on your Mac.